Made: Camera Wrap


That is my interpretation of a camera wrap.
A camera wrap is exactly the kind of idea I love: a soft little piece of love to protect and secure. I have never had a camera bag or anything, because really, who wants to carry around an ugly bag in addition to a purse or tote or any combination of bags we are already carrying? But on the other hand, if my camera is just strewn in with all my other items--brush, wallet, phone, Burt's Bees, keys, headbands, receipts--that's not exactly the best way to care for and protect a valuable creative tool like my little G10.
So the other day when I popped over to Etsy (because who doesn't) for a bit of inspiration, this camera wrap jumped off the screen. First of all, it's wool and leather, two things I adore. I especially like the wool and leather combination by the artist, Norwegian Sommer. I don't hav e $75 to spend on that camera wrap, but it seemed totally doable with a few new tools and a few learned skills.
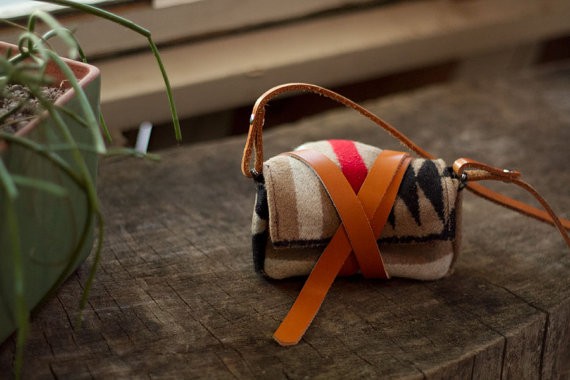
As I was saying, the "camera wrap" is exactly the kind of thing I need to carry my camera around; it is literally a soft little wrap that blanket and cushion the camera, sturdied by the leather strap that wraps around that a few times--there is not room for any additional things in this tiny wrap. Not to mention, it's cozy and heavenly soft.
Since we are heading to Key West tomorrow, this was the perfect excuse to attempt this project quickly and use the final product immediately.
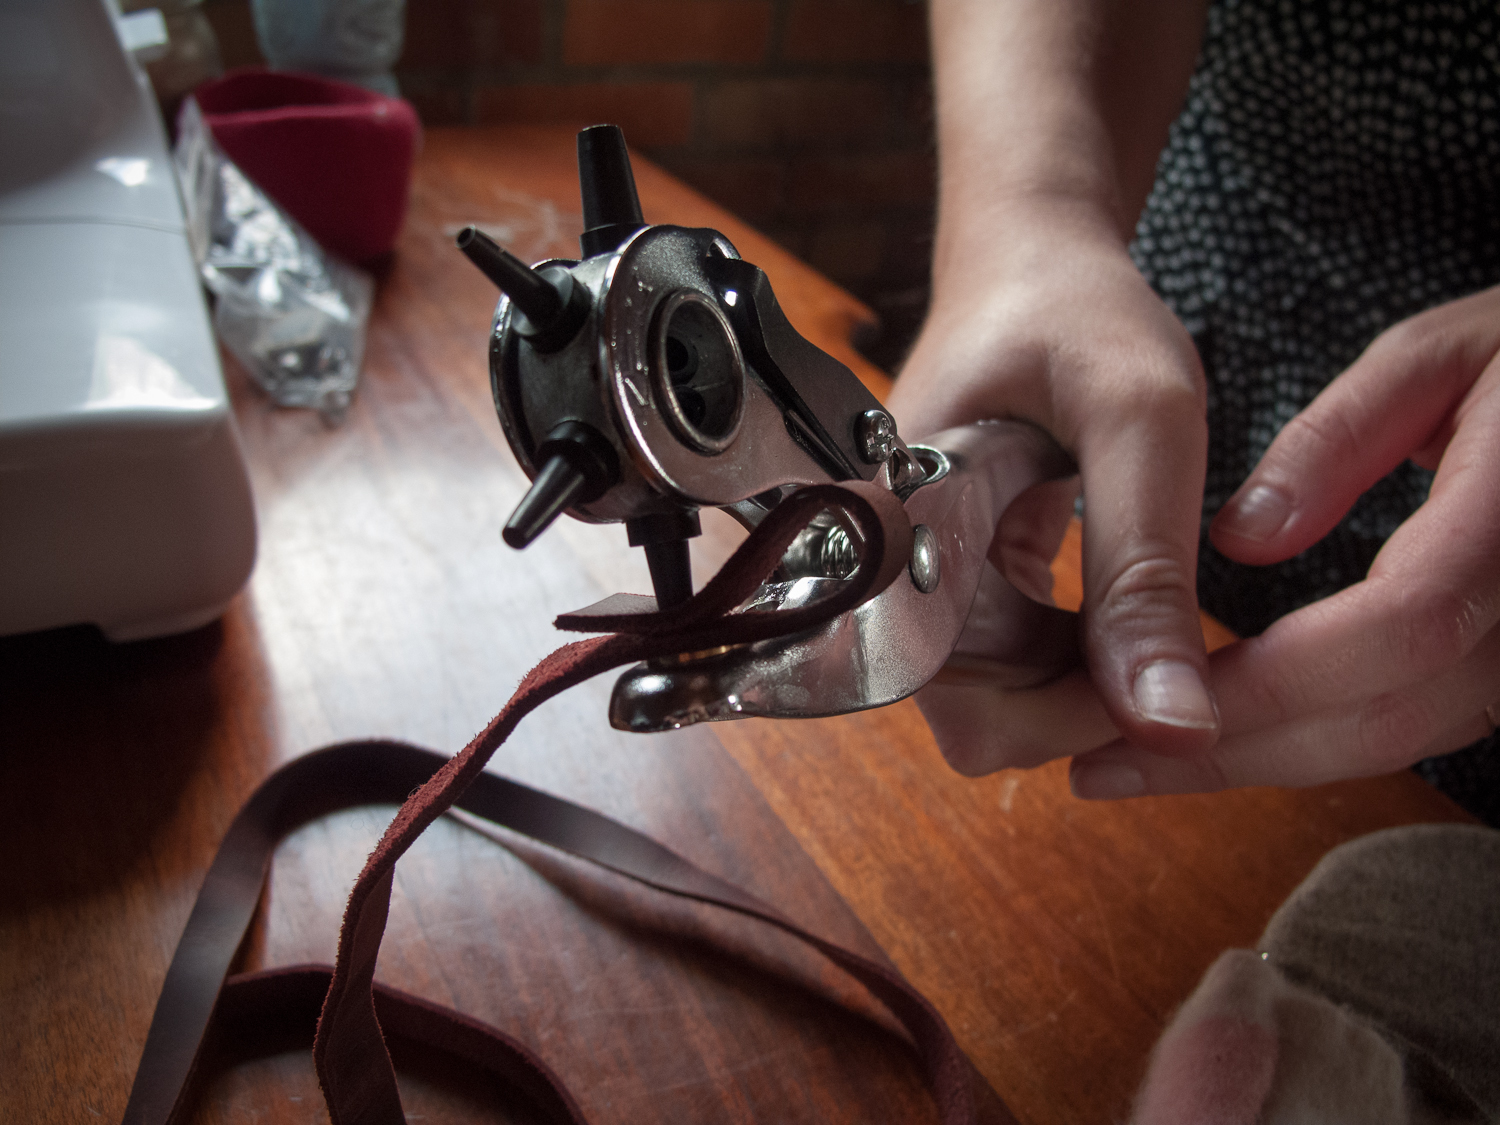
First we made a weeknight trek over to Tandy Leather, and the salespeople there were nothing short of amazing--so helpful and knowledgable. We left knowing far more about leatherworking and the tools and tricks than we did when we arrived. We got several widths of straps so we would have a few options, and a thinner little strip for the wraparound bit, which needed to be softer and more flexible. We also needed rivets, rectangular D-style rings, a leather hole punch, and the little metal pieces that you bang on (see, I know the exact terminology here).
The second preliminary step was seeking tips from my Mom, my sewing guru, and the reason that I have a giant bag of wool at the ready in my apartment in the first place. She gave a few pointers and then last night, I began making a pattern out of muslin. I did not want to start hacking into the wool with no pattern in my mind, without making sure the pieces would sew together correctly. This is not like making a quilt, my usual fare; this is a three-dimensional project, and those are a whole separate beast of trickiness and mystery. Patterns are pretty much essential to me when I make anything three-dimensional, and in this, I needed to create the pattern first.
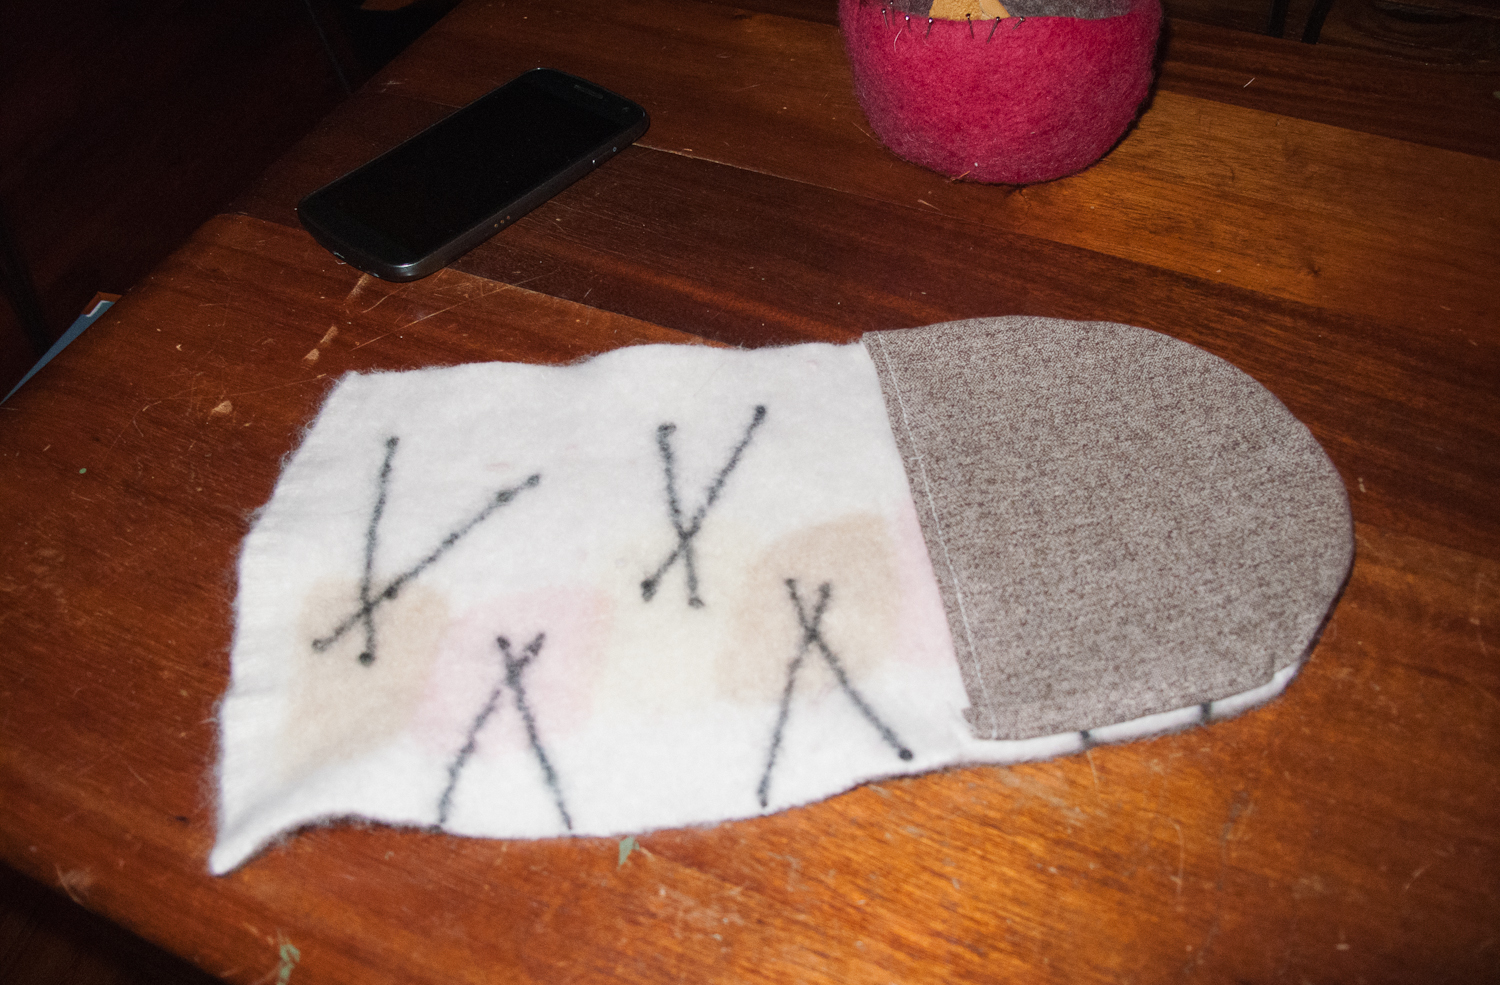
Once I felt comfortable with the sizes, measuring against my camera to make sure this was a custom Canon G10 fit, I started cutting out the same pieces from the wool. By the way, isn't this wool pattern fantastic? The pattern pieces below are for the two sides of the wrap/bag, with the little notch at the top are the piece that the metal rings will attach to soon.
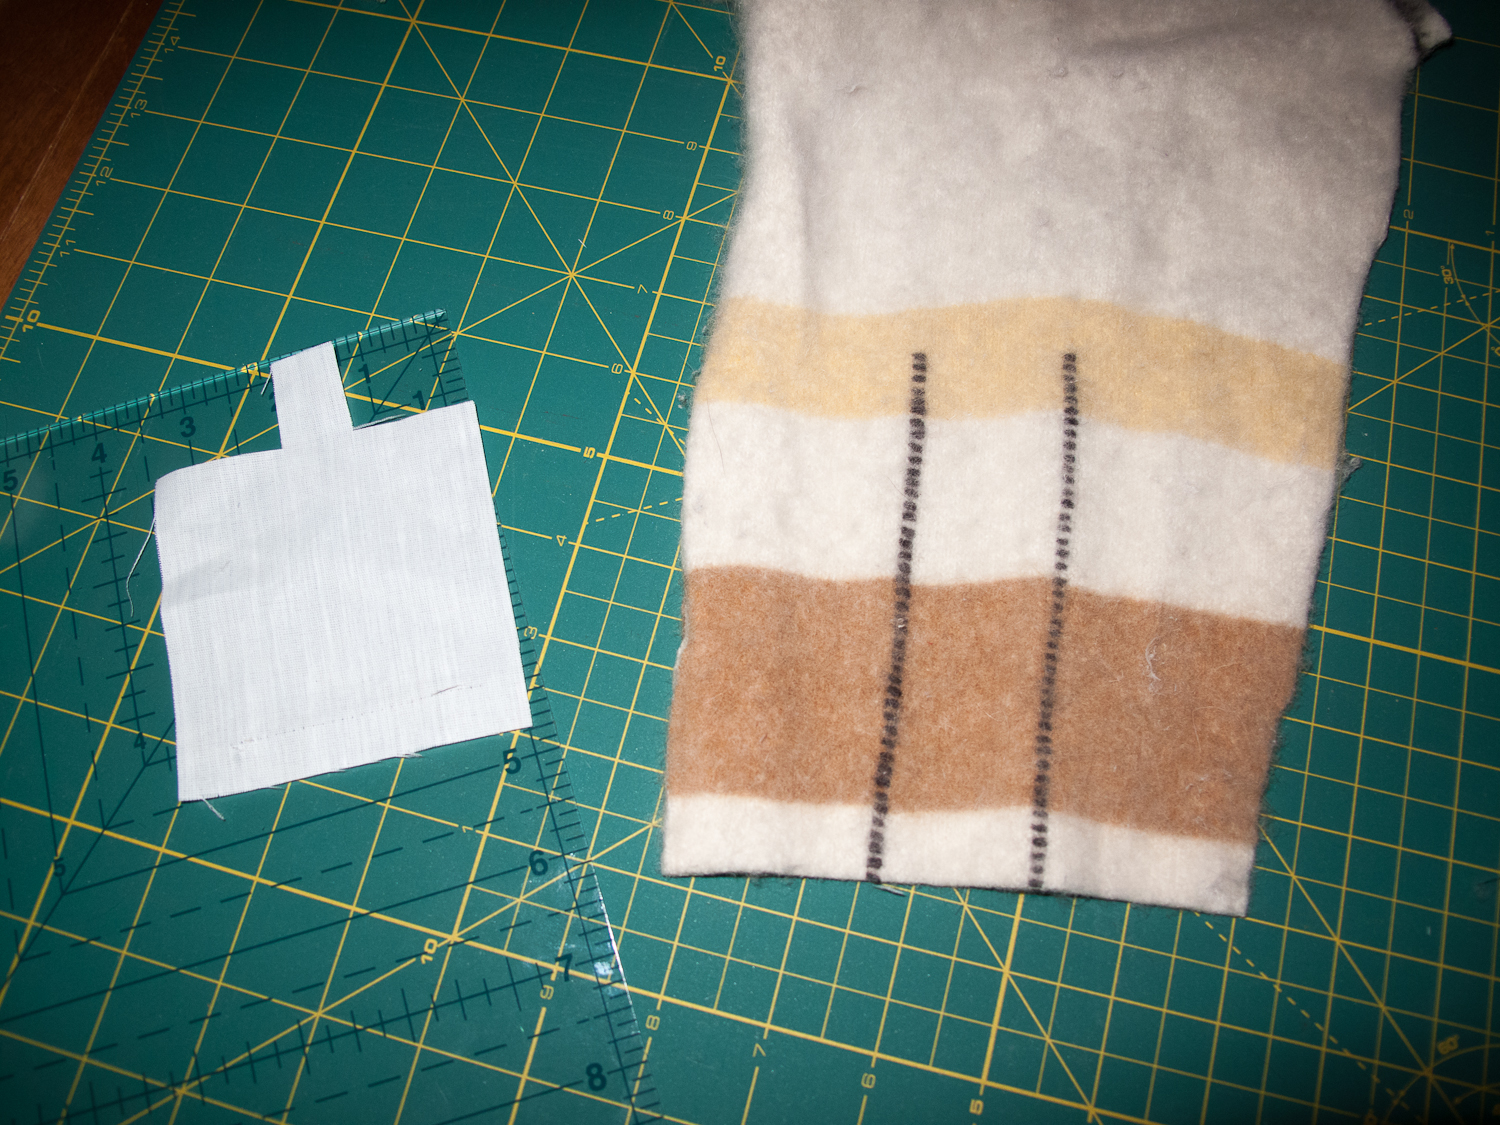


I cut the wrap with a curved front flap, for no other reason than that's what I wanted it to be. I used a bit of coordinating cotton on the underside to create a finished seam edge for the front of the wrap, and hemmed it on the inside so it would be finished and nice, not raggedy. I love that menswear cotton fabric, too.
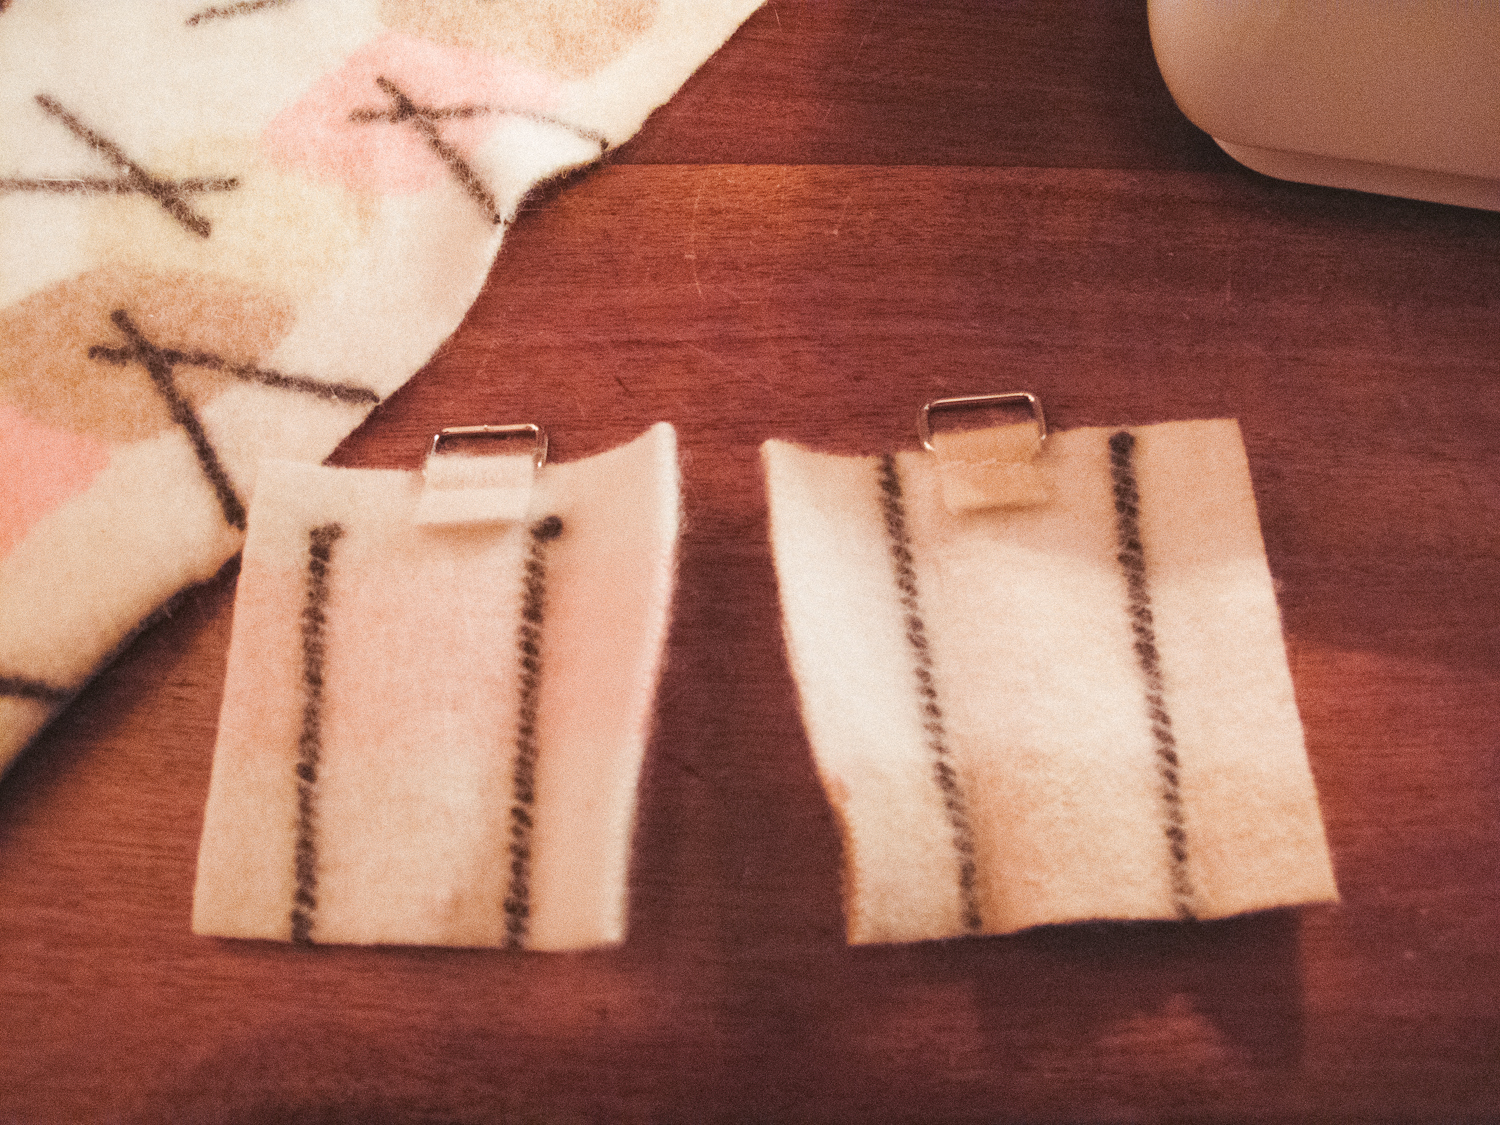
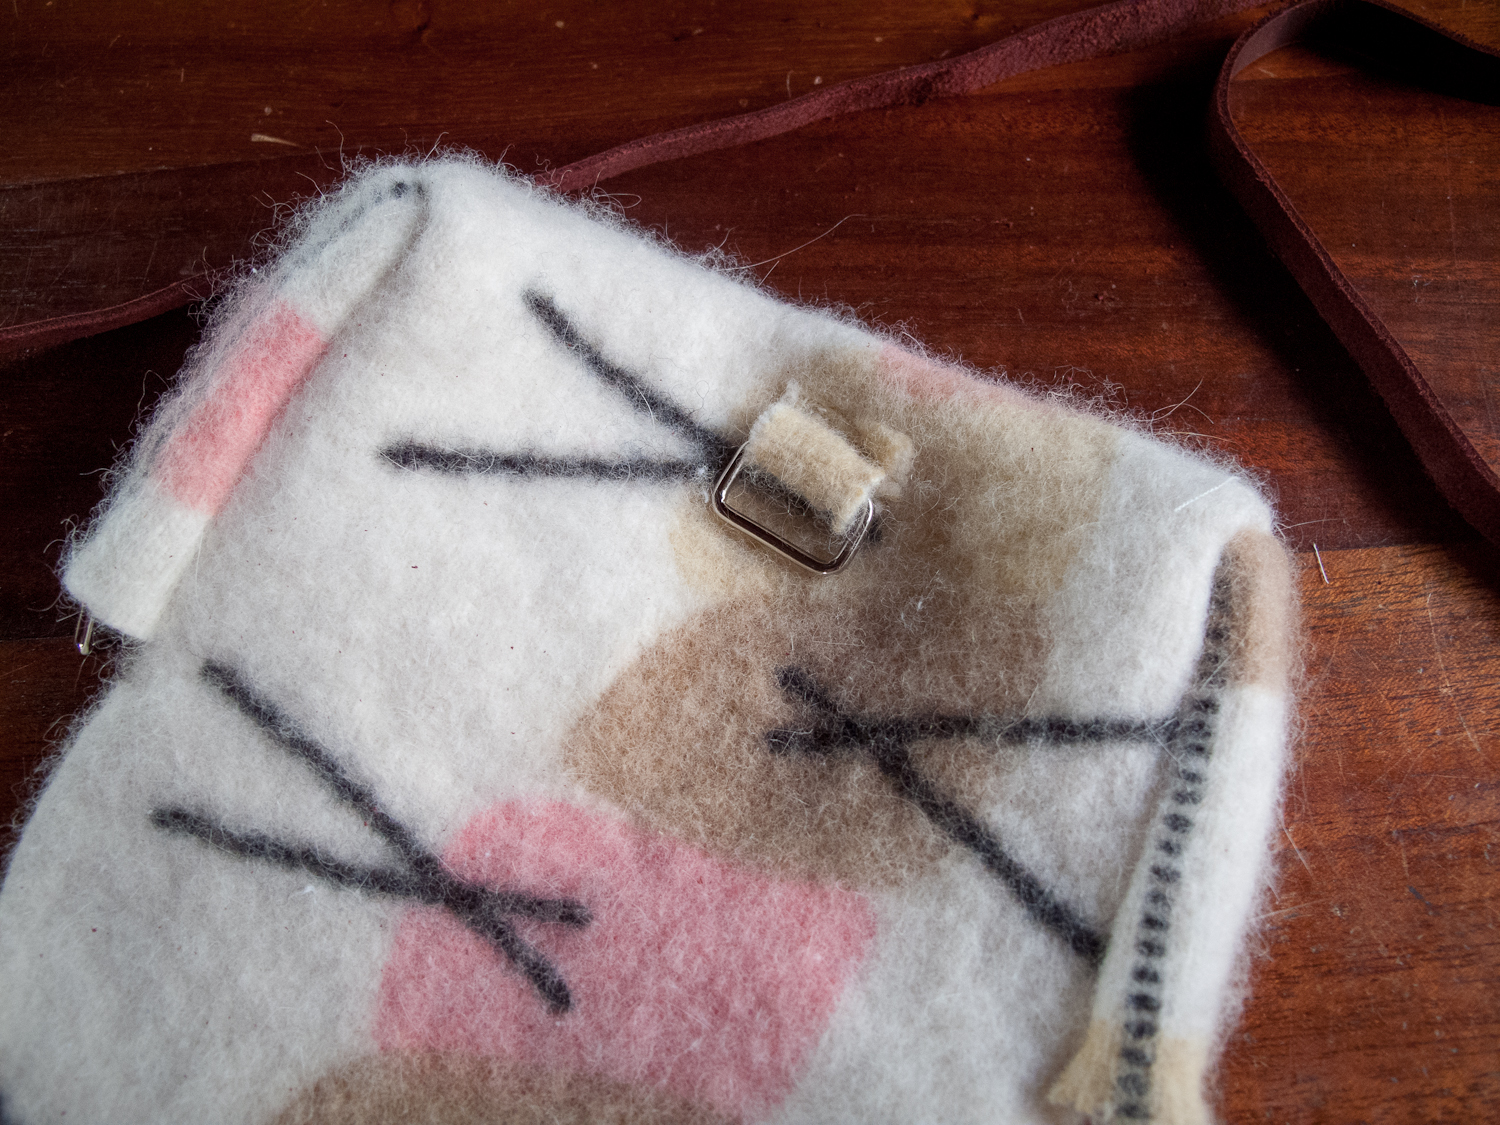
Next I folder over the little tabs and stitched the metal pieces into them, so the strap could attach to the bag. After that, there was nothing left to do but sewn the two side pieces onto the wrap part, making sure they were evenly placed on both sides so the final product would not be oblong, and also ensuring that the "bottom" I was creating in the larger wrap piece was actually going to correspond to the bottom of my camera. Basically, I just needed to make sure that when these were sewn together, and the shape began to form, that it still fit the camera correctly. At this stage, you need to also make sure that you are sewing on the reverse sides, with right-sides of the fabric together.
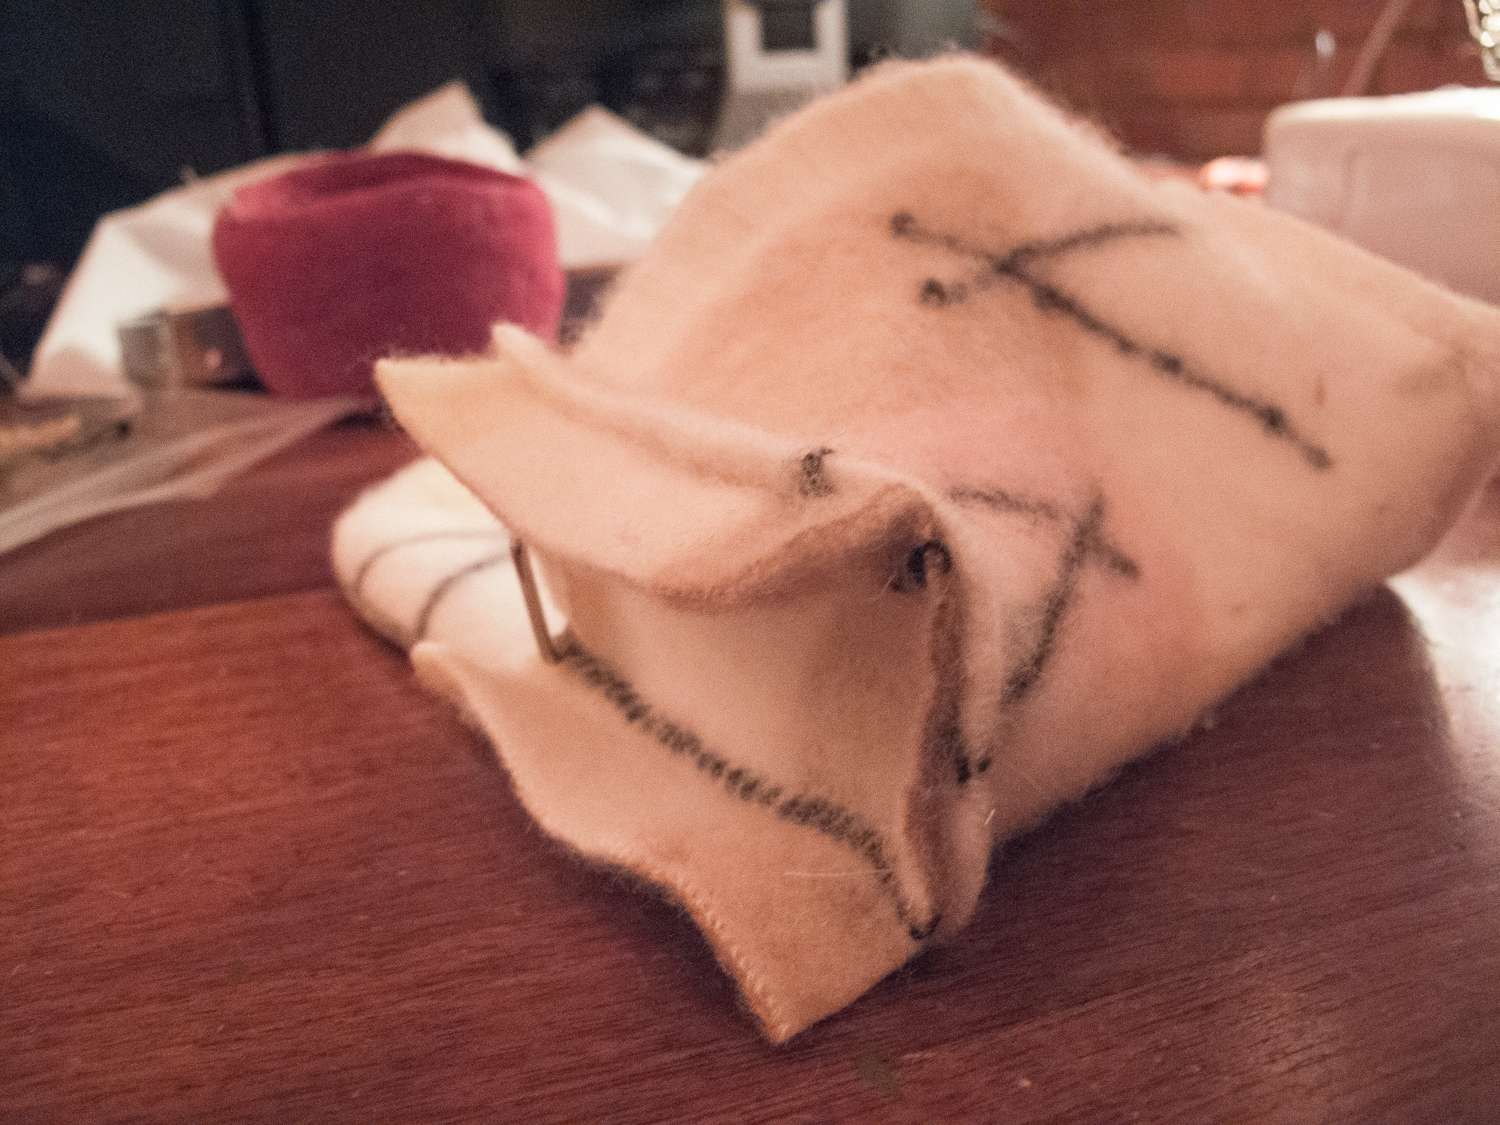

Once the two sides were sewn on all three edges to their respective sides, I flipped the bag right-sides out. Voilà!
The final piece I added was this little hook on the back of the wrap, to hold and secure the thin leather strip that closes the wrap.
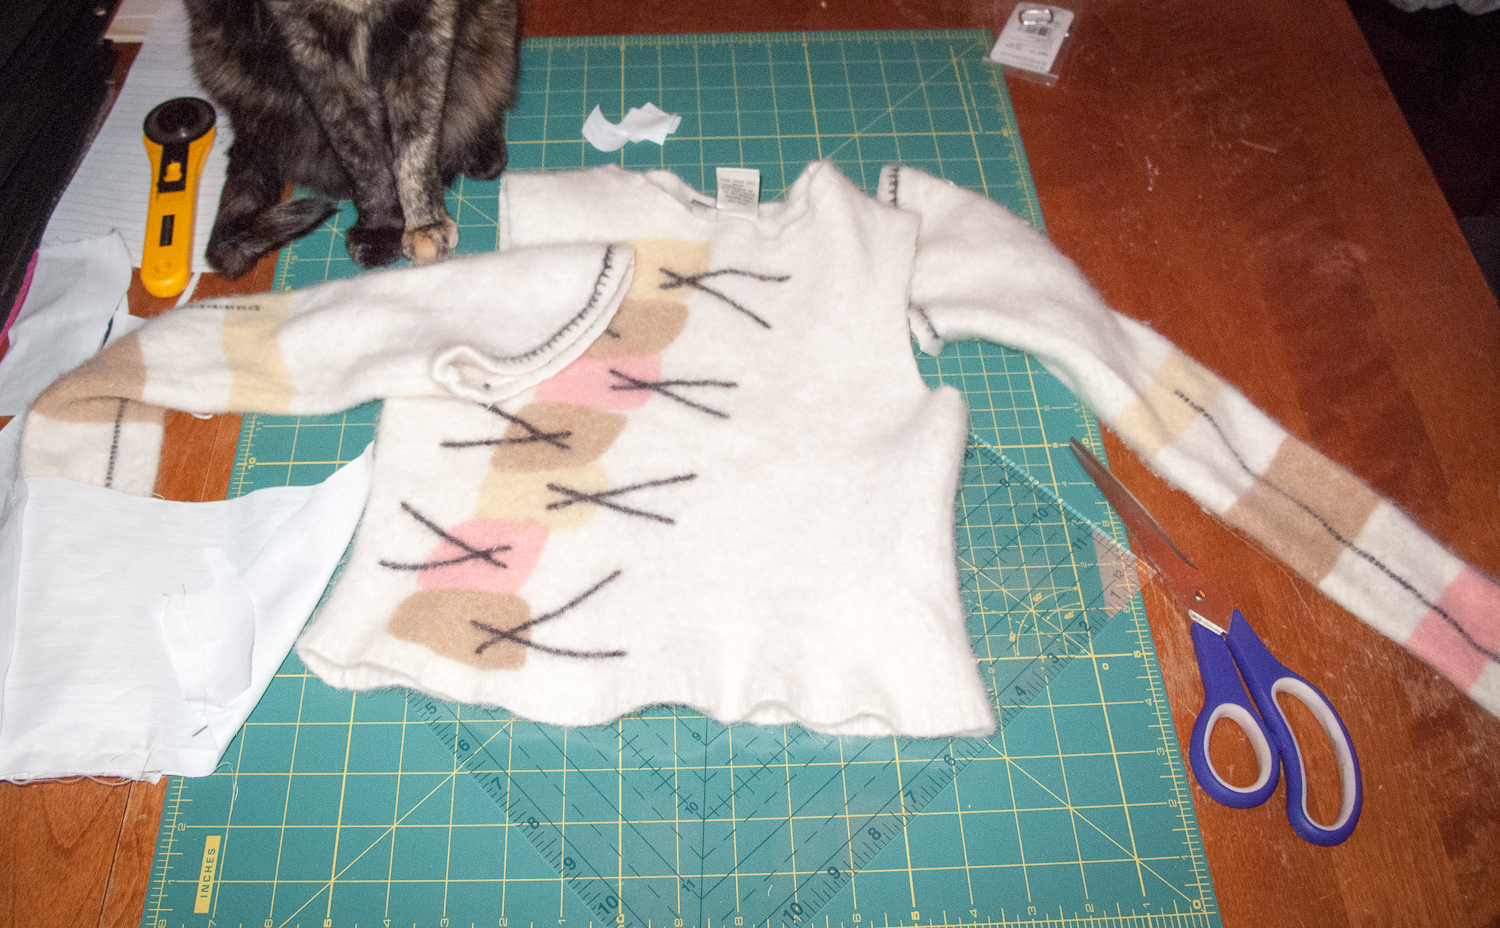
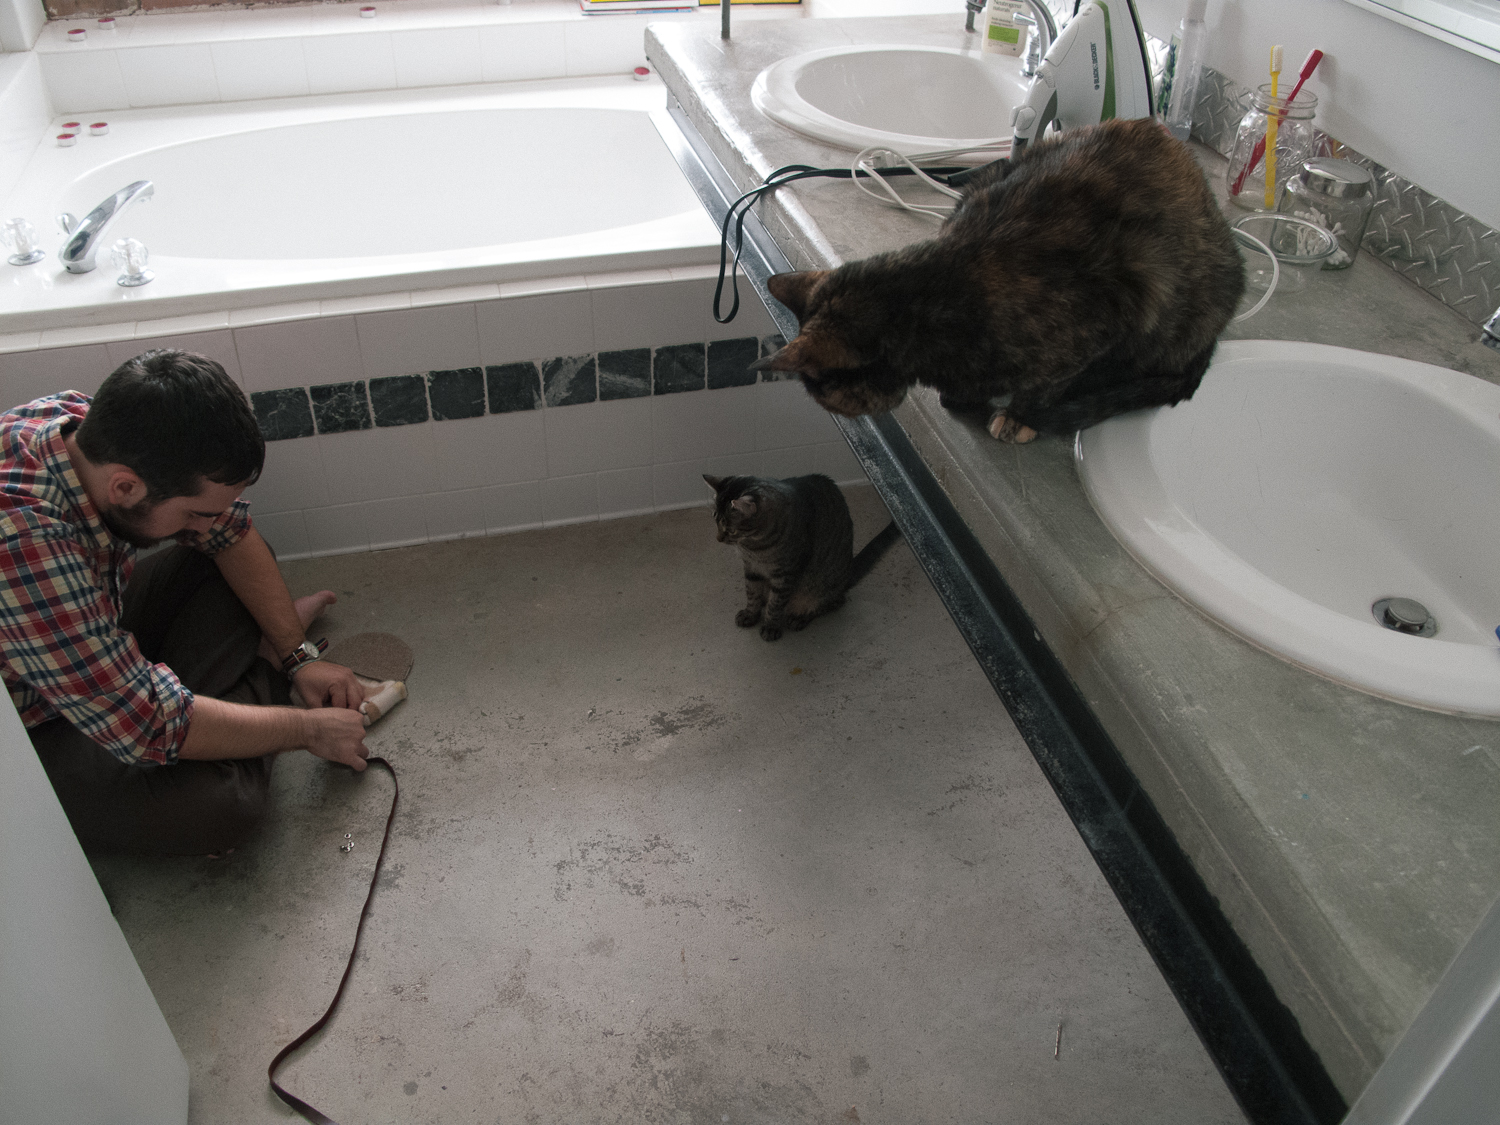
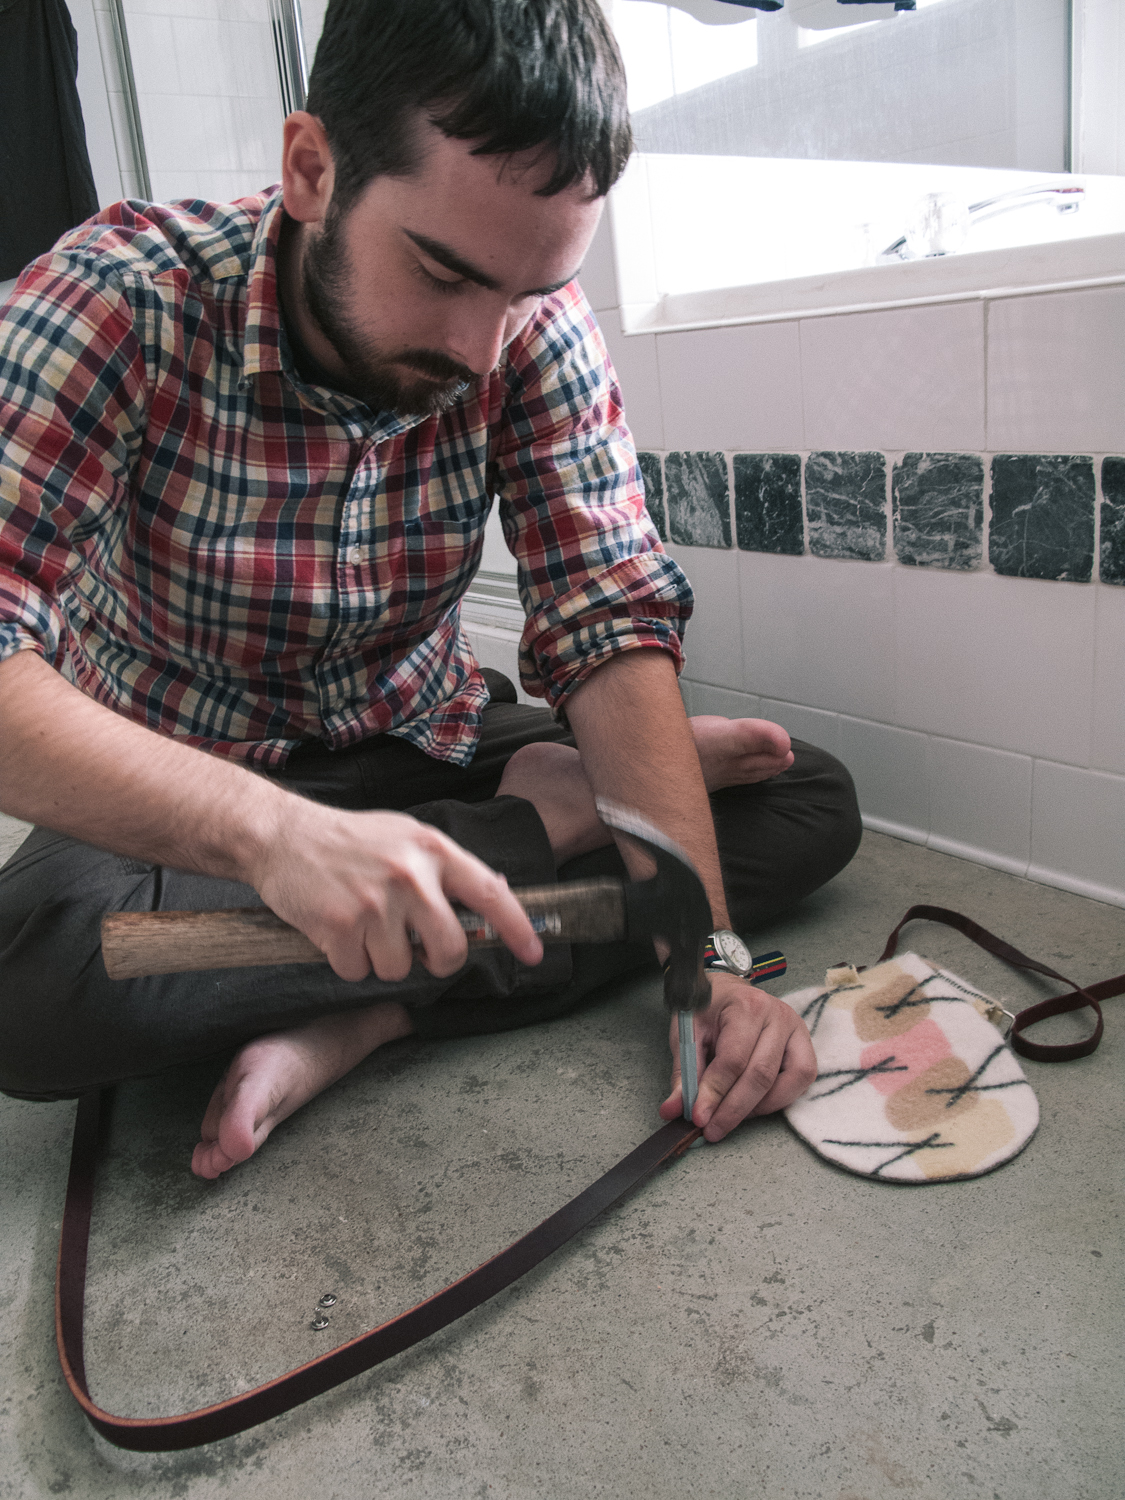
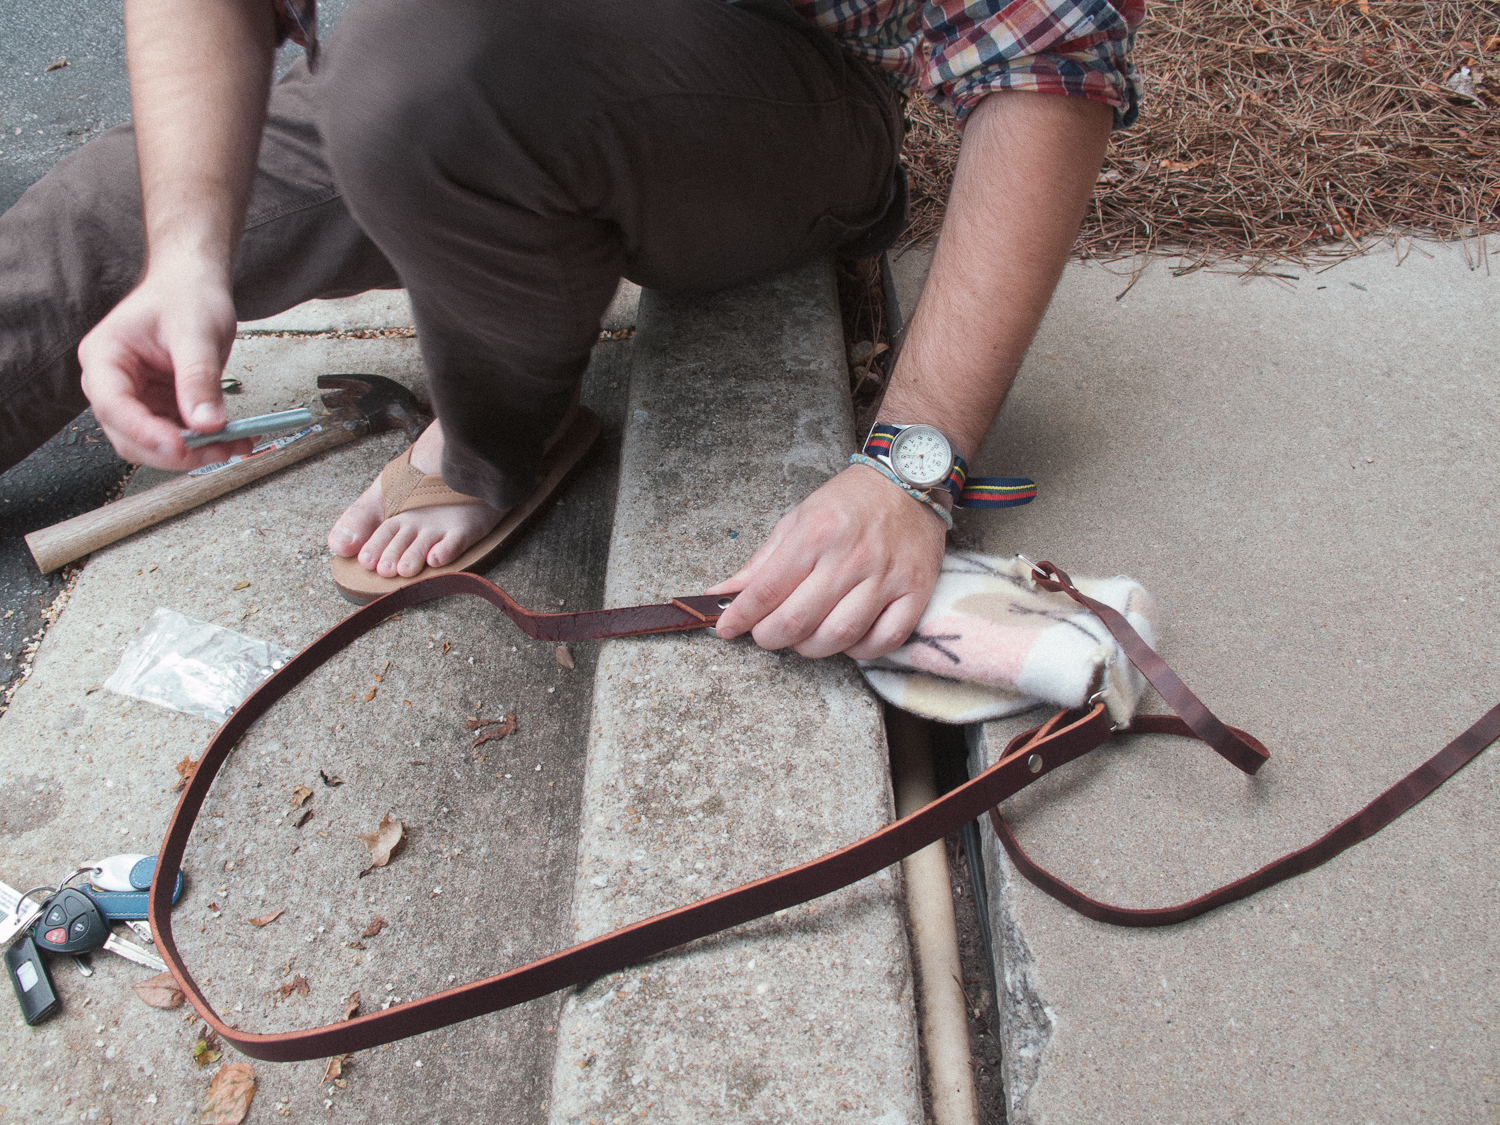
Then it was time to add the leather components. It happened to be convenient that we have concrete floor in our bathroom, all the better for leather working, my dear. But, eventually, we were not getting a hard enough surface for a really secure rivet; we think the indoor concrete was absorbing too much of the vibration. So we took the final part of this production out to the parking lot. Also, the cats were very interested in this event.
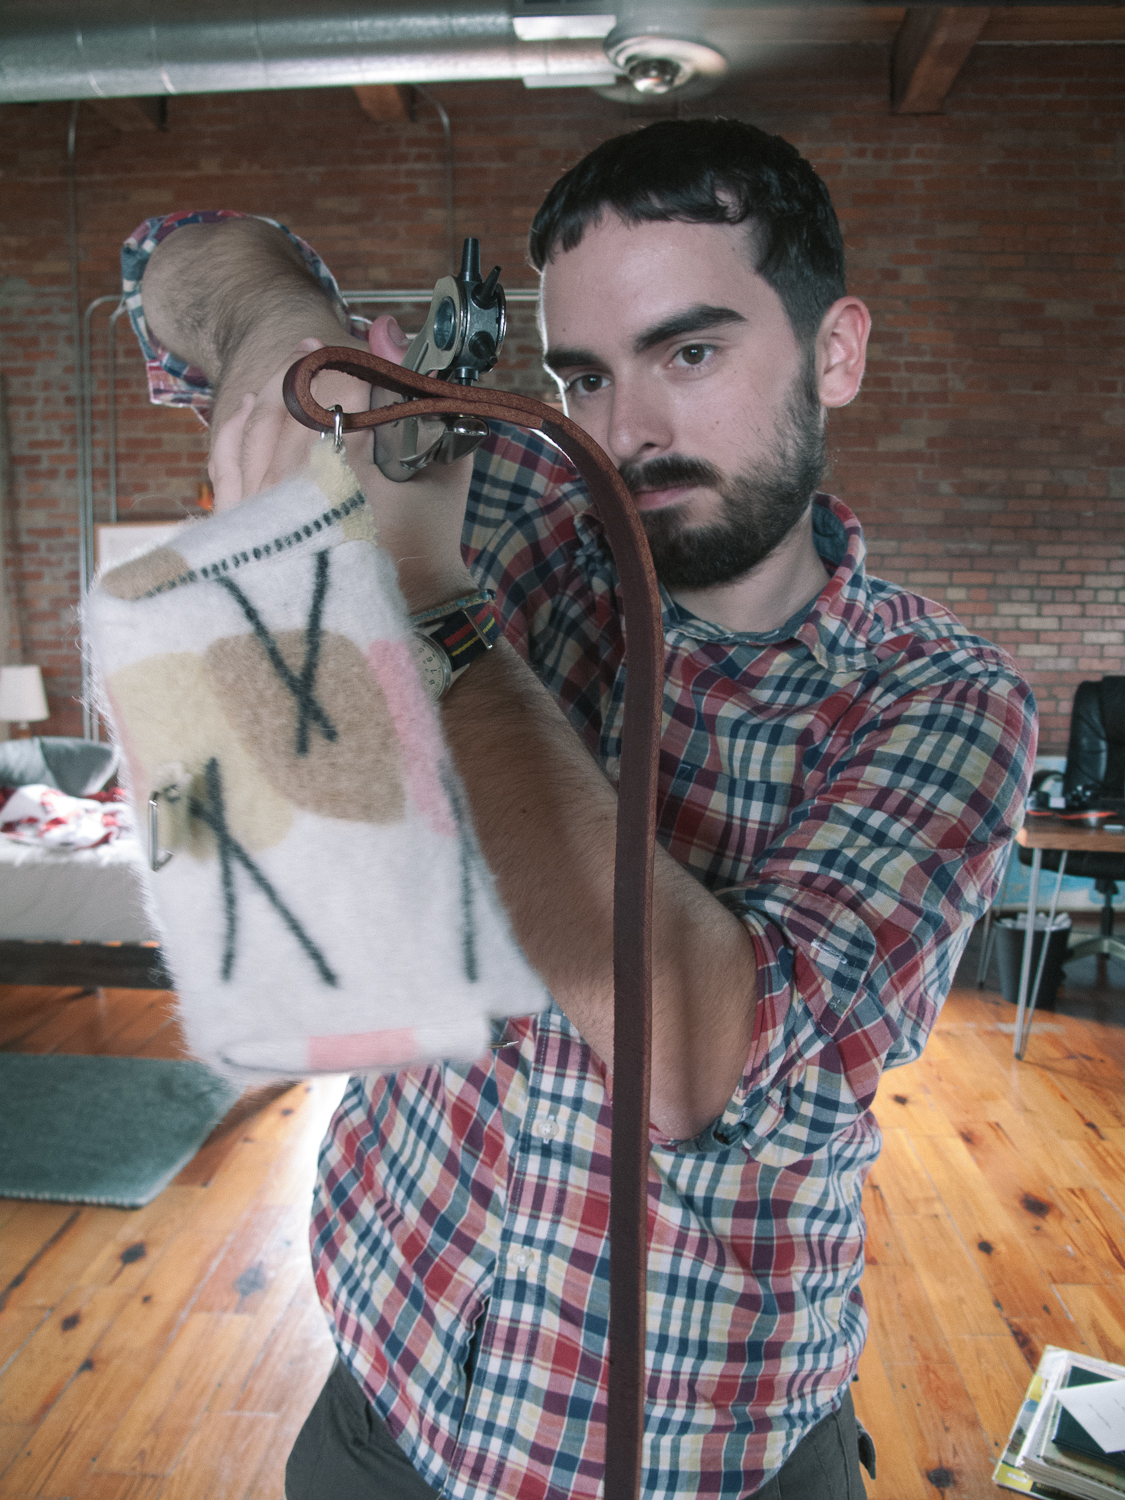
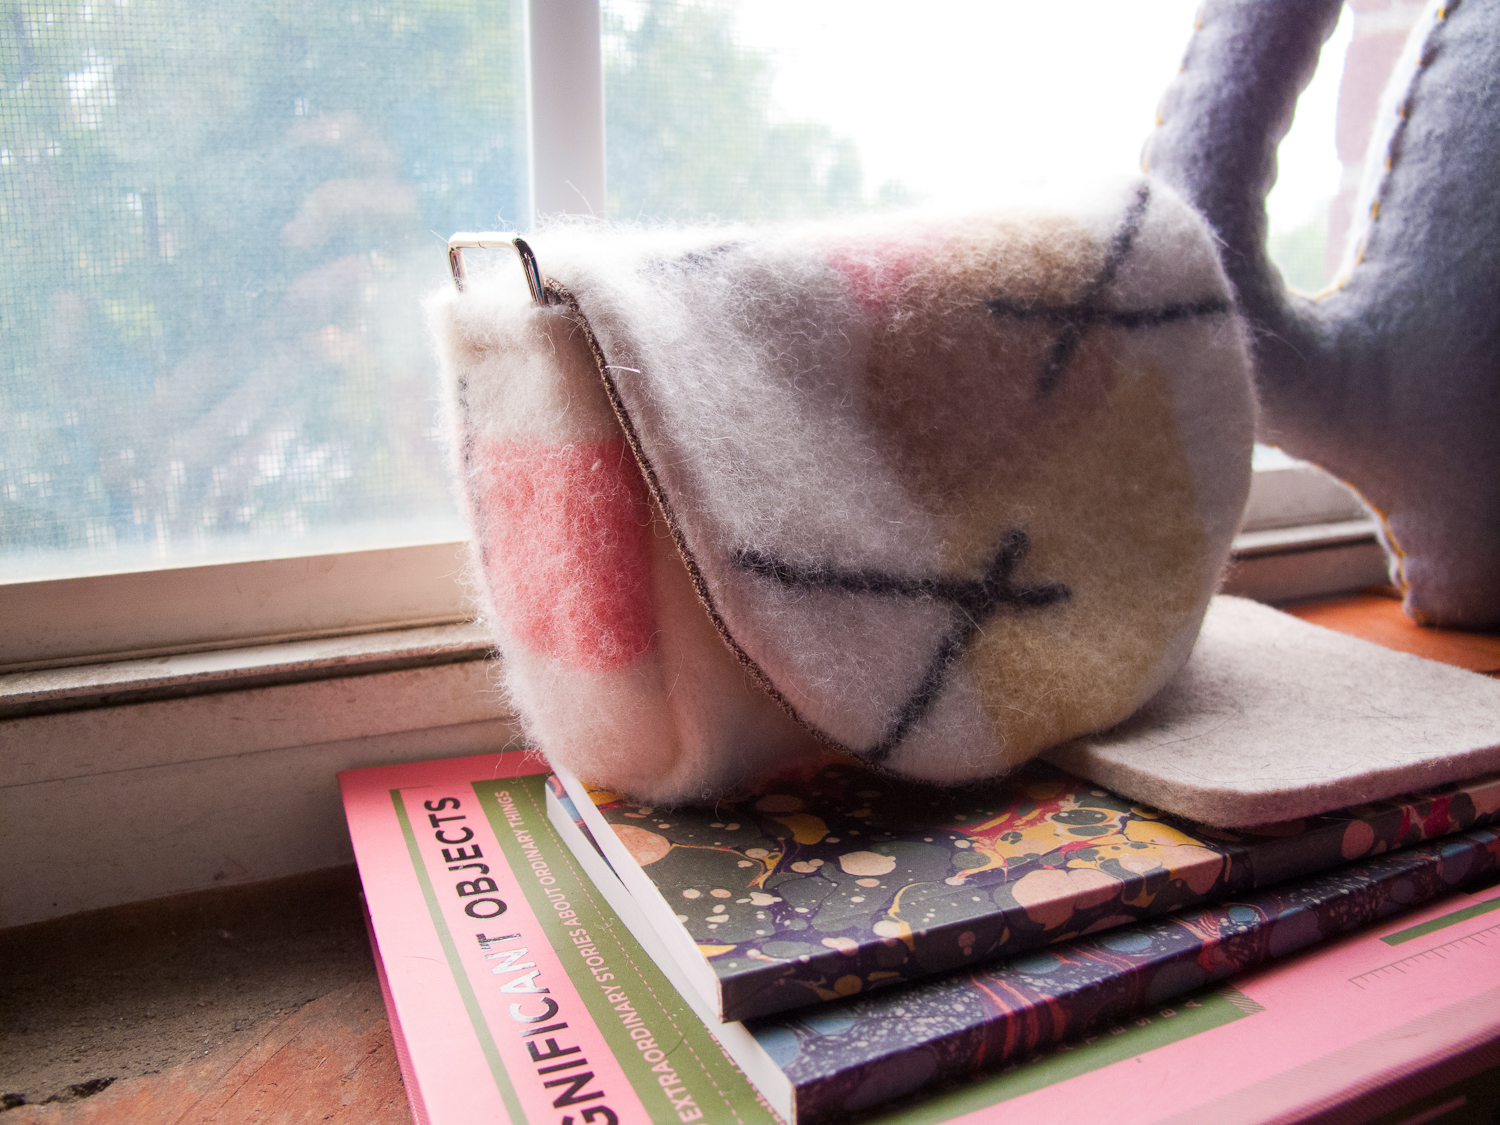
Here's the bag from the back, showing the detail of the leather closure strap and where it connect to the wrap/bag. Check out those super fine rivets!

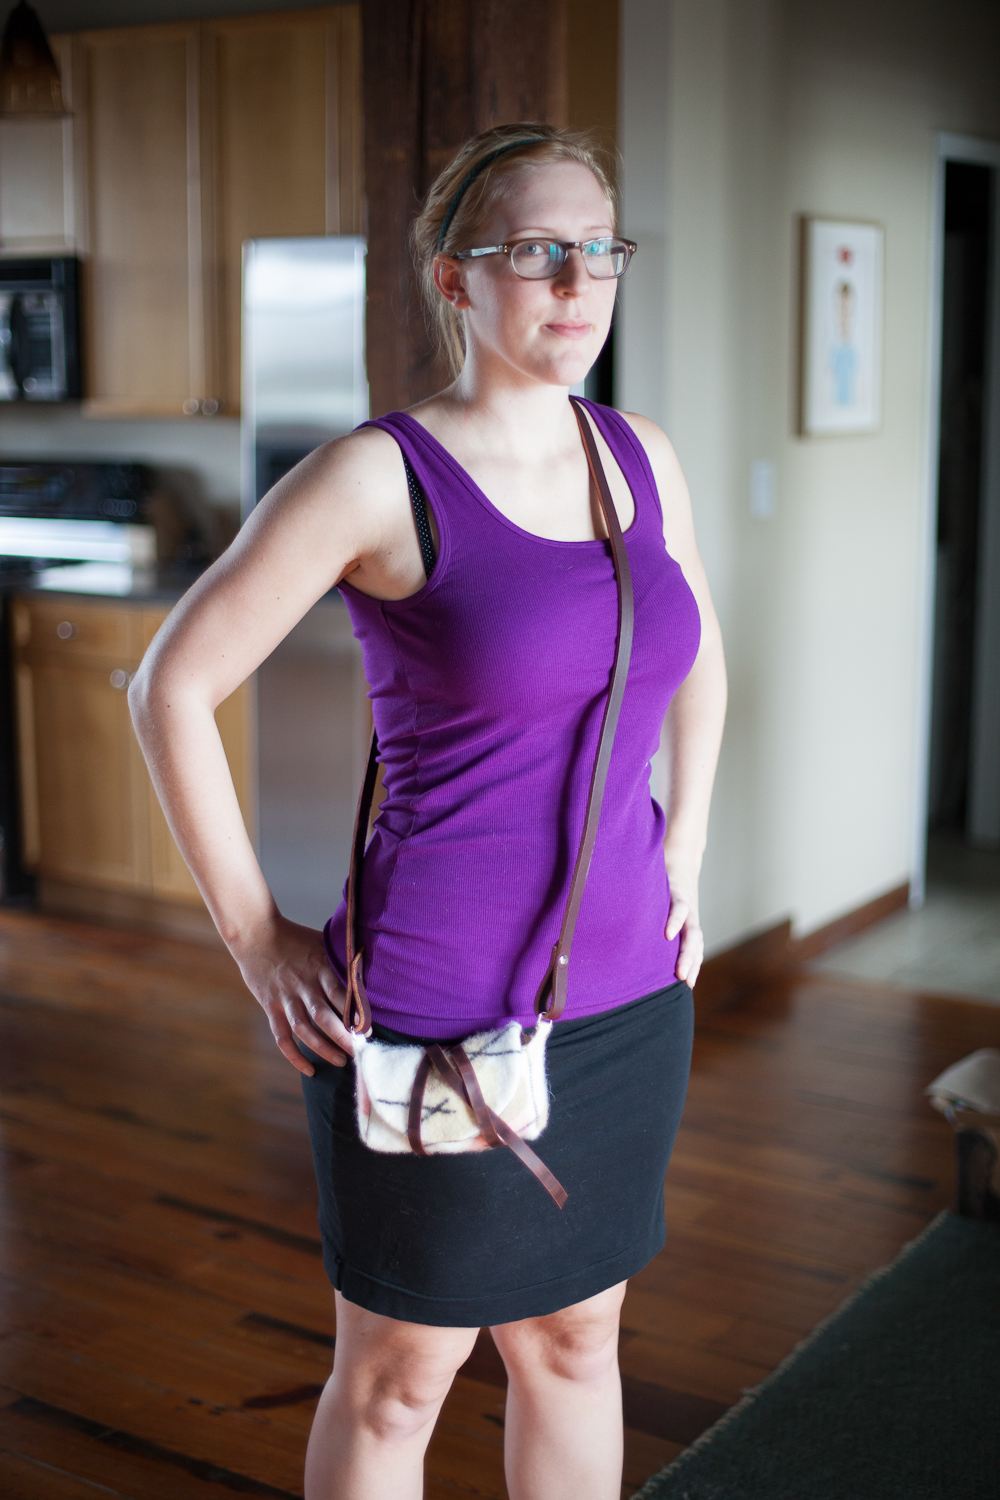
Modeling my new camera wrap.